Tutorial: The Magic of grayscaling your art
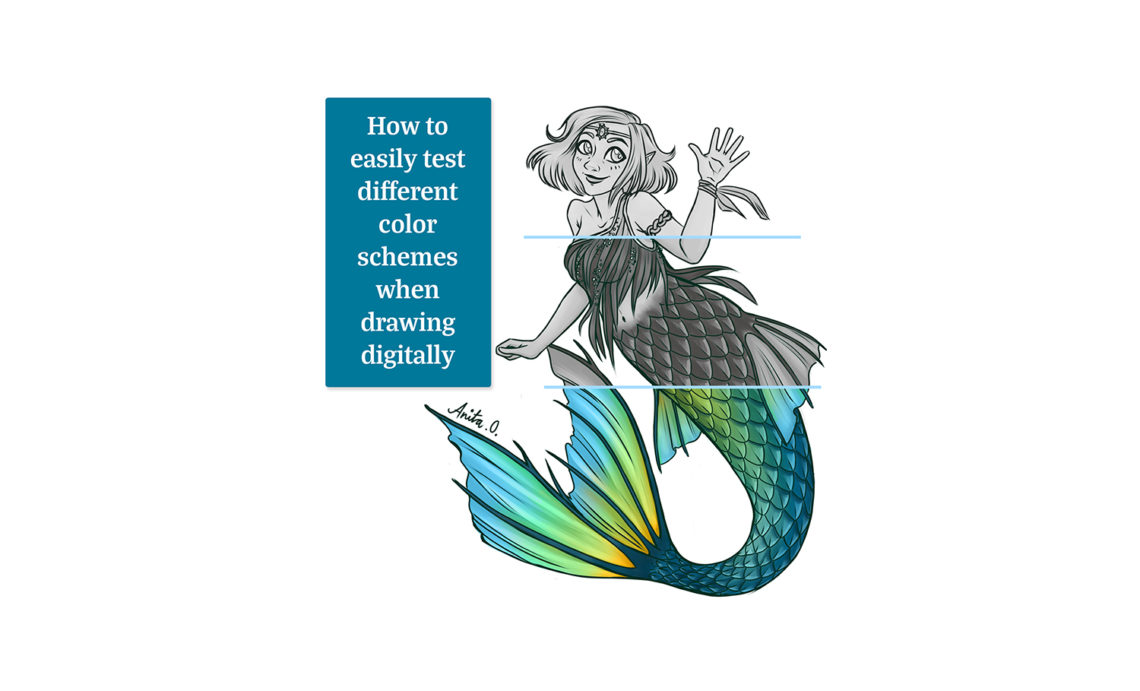
Sometimes I don’t know which colors I would like to use for a given design or piece of art. In this tutorial I will show you how you can quickly and easily create different color palette suggestions for your drawings!
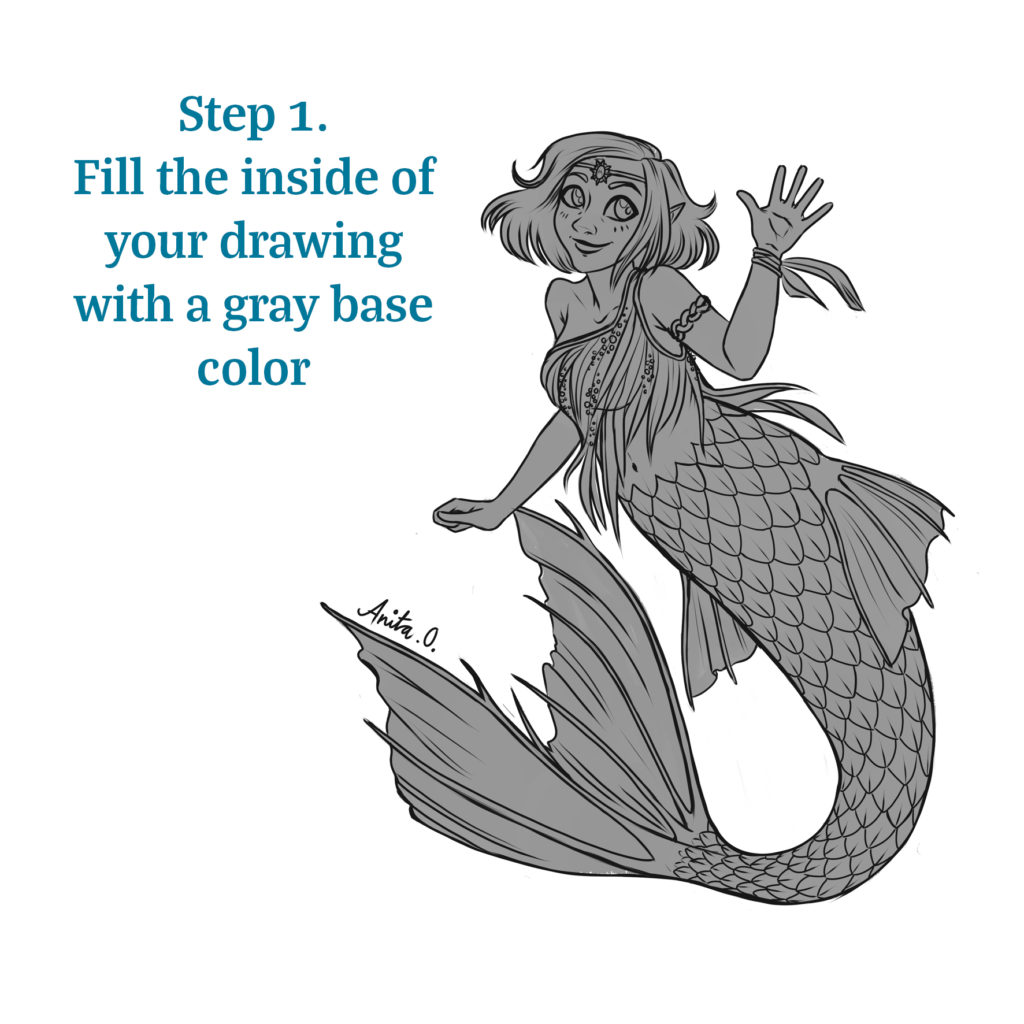
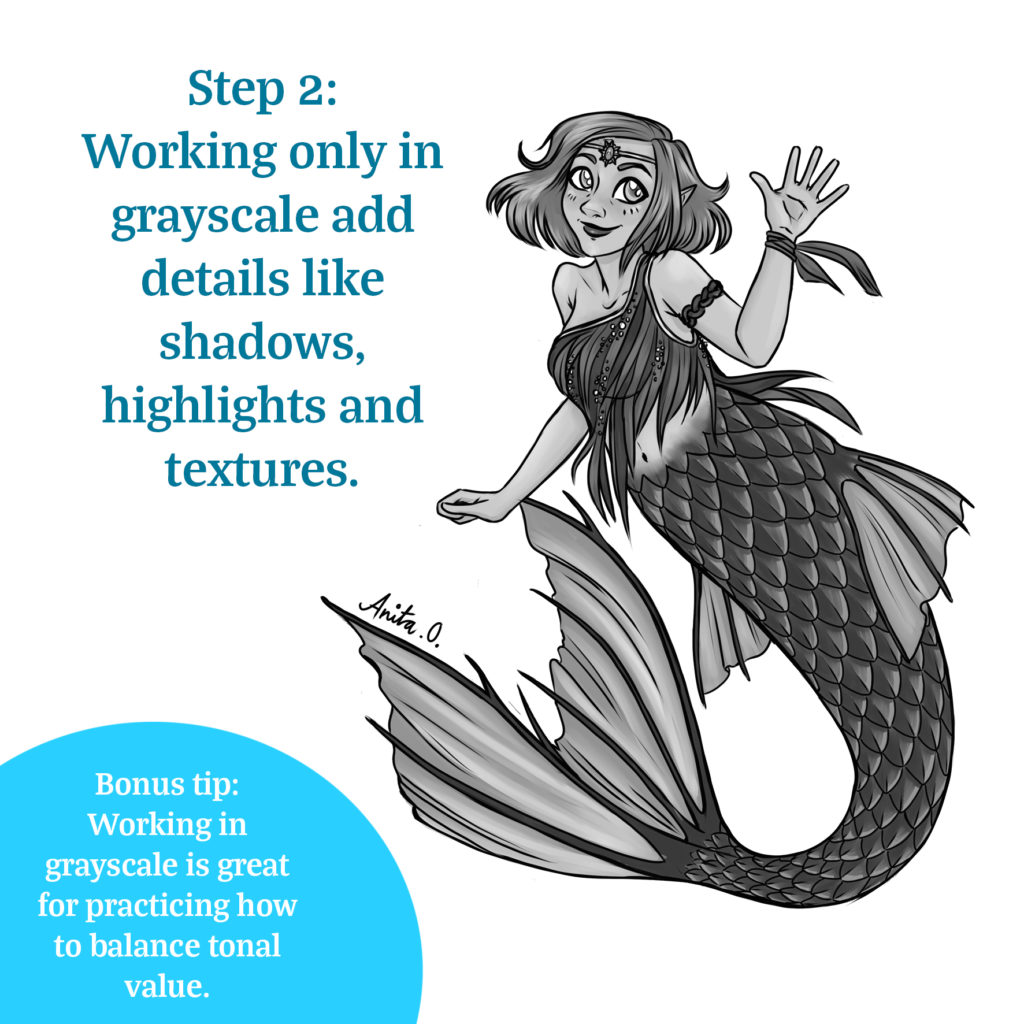
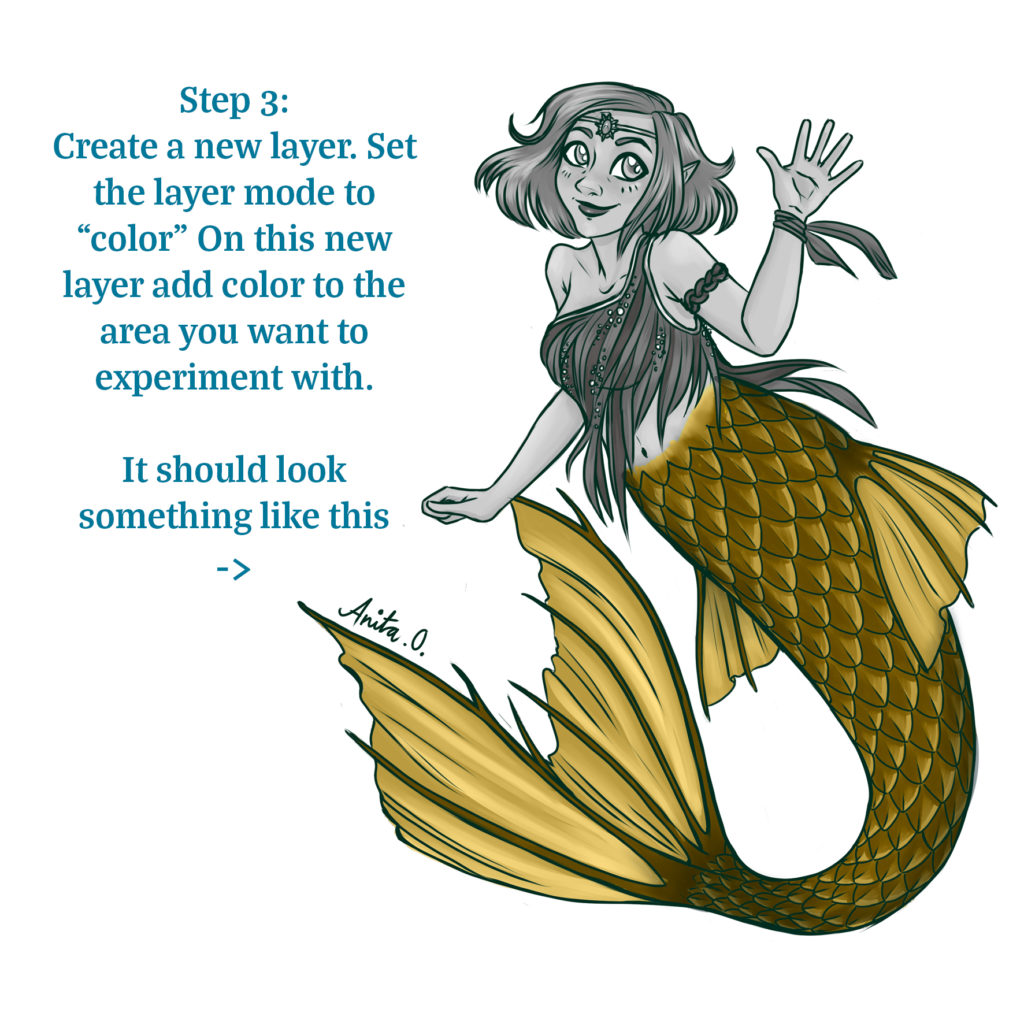
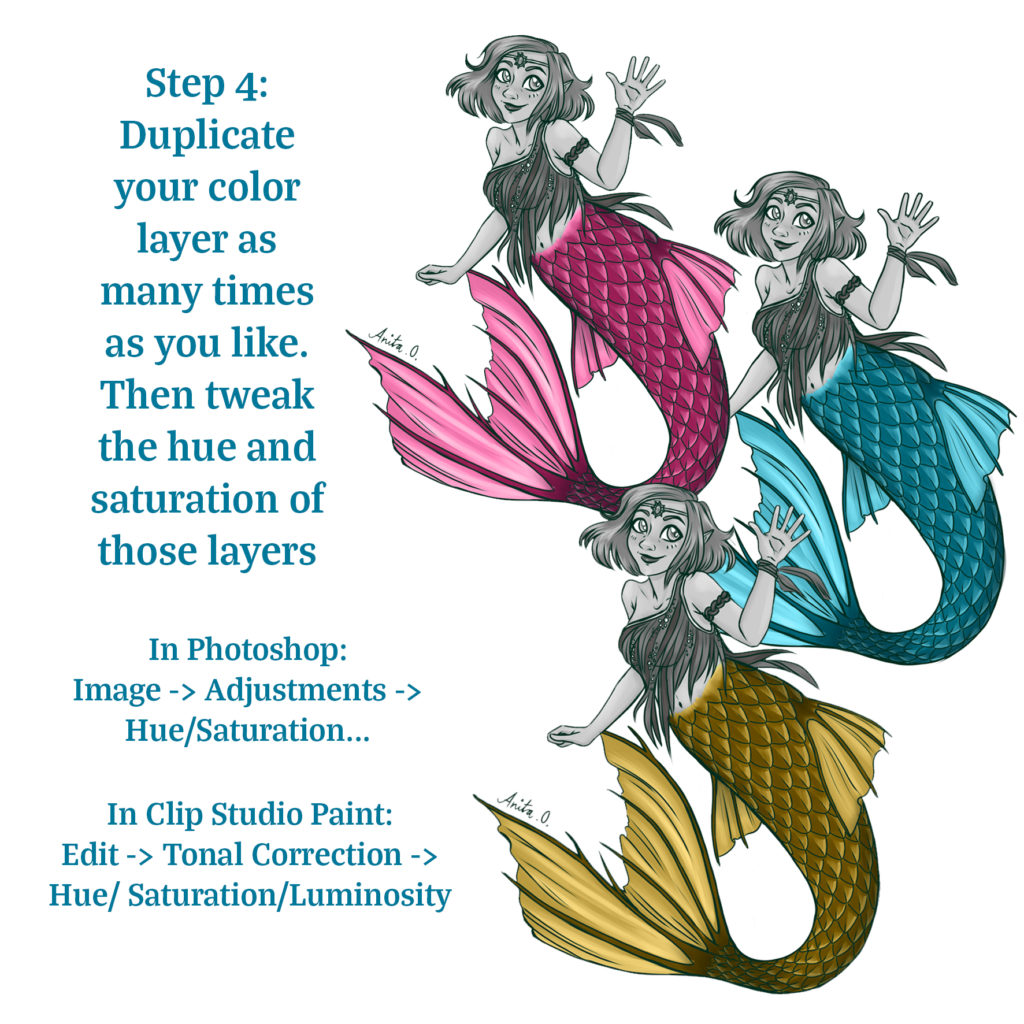
The technique I sometimes use when I need to do several color schemes is what I call “grayscaling”, though it might be known under different names as well. The concept is easy enough. All you have to do is render a dawing in grayscale and then play around with colored layers and layer blending modes. Below I will take you through the process step-by-step.
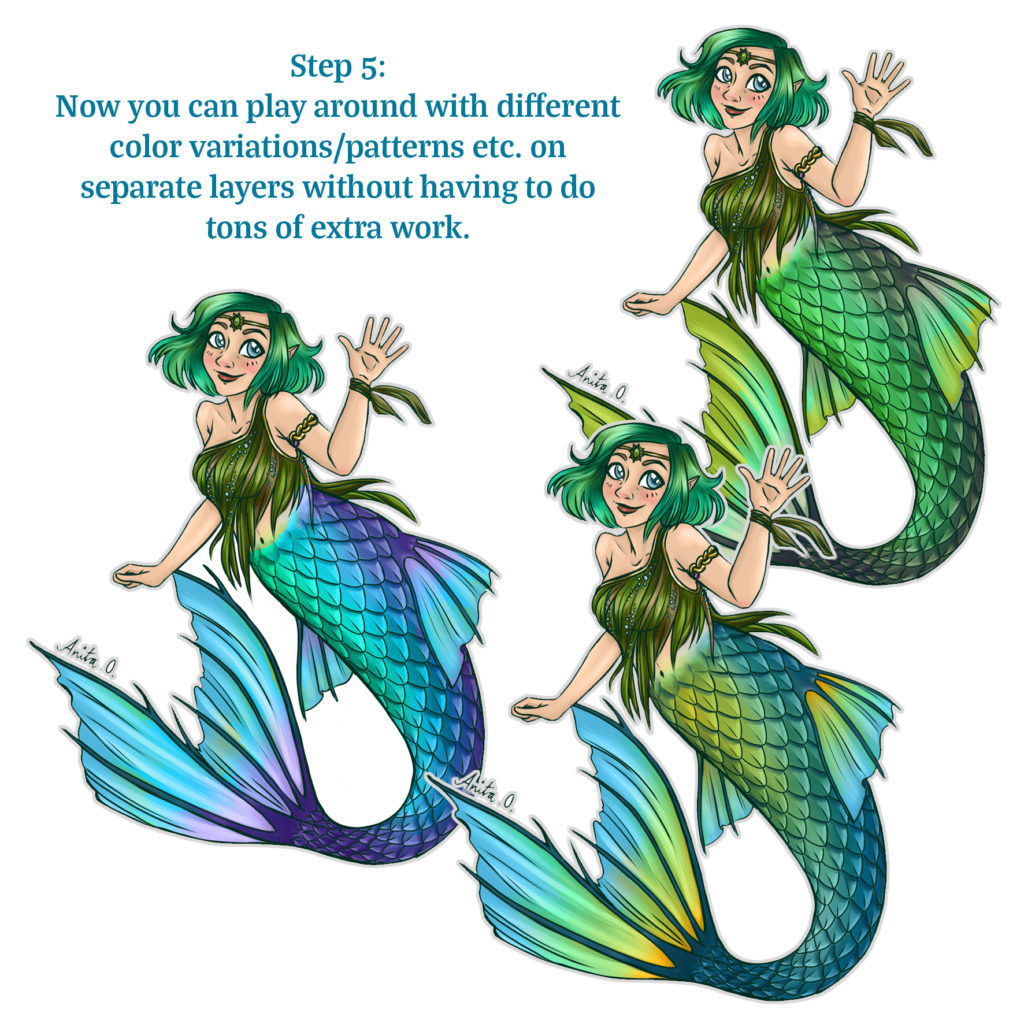
I have gone through the same process for the skin, accessories and hair.
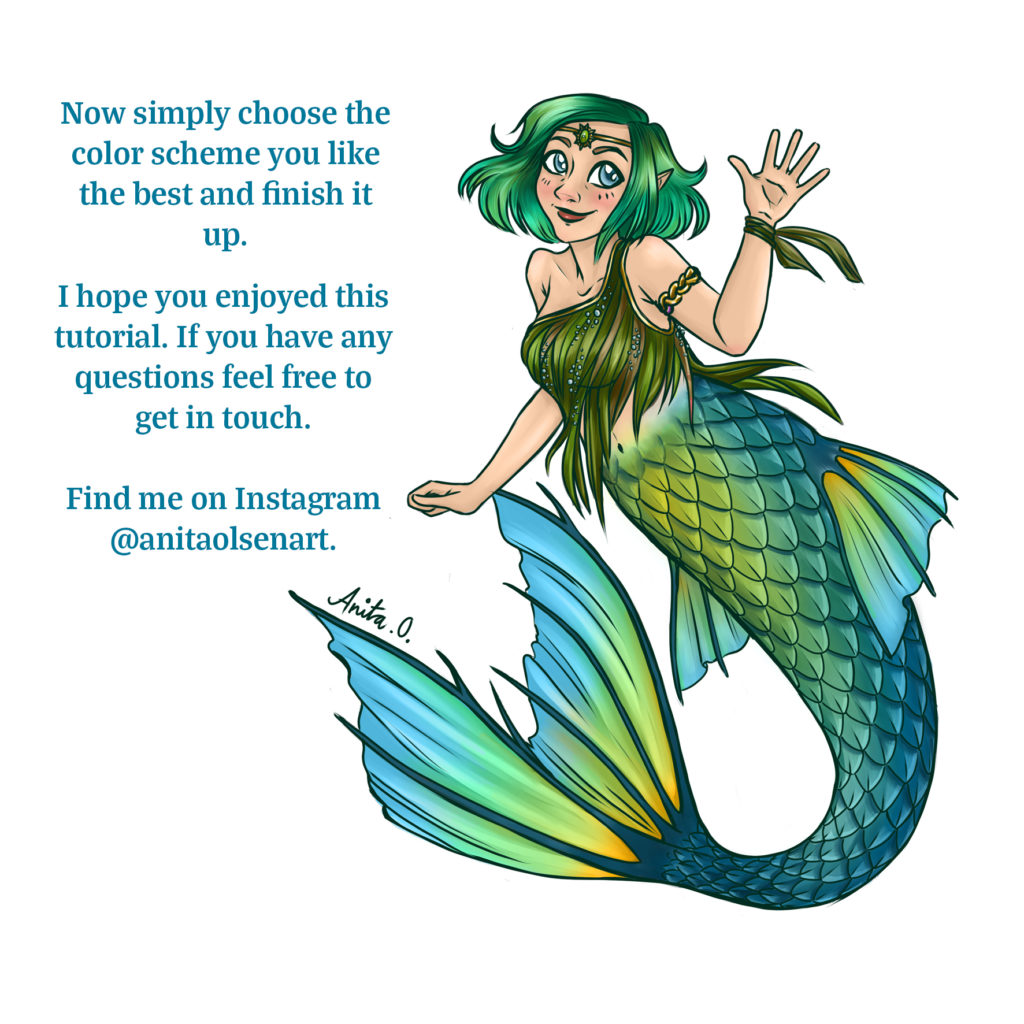
That’s it! That’s all you need to know!
Leave a comment if you have any questions or ask me on IG @anitaolsenart.
Stay creative!
Love, Anita Olsen Art

You May Also Like
Window painting – 5 tips to get you started